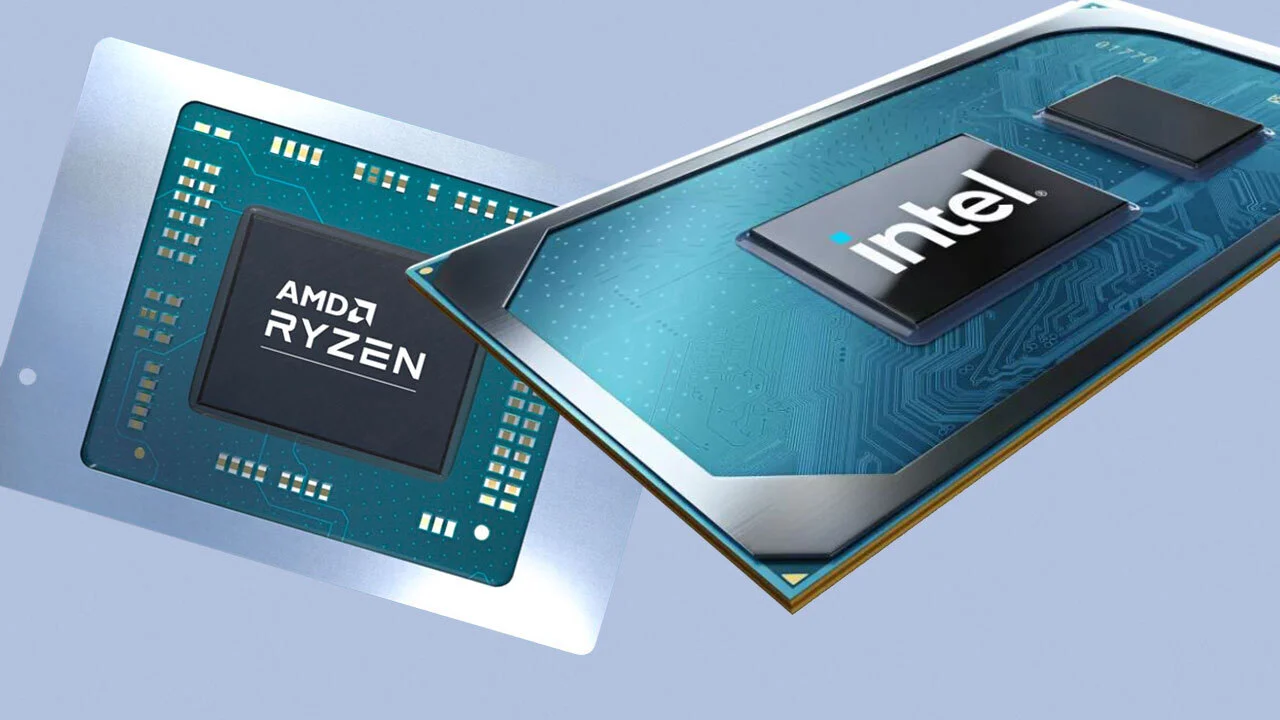
“Discover the ultimate guide on how to change laptop processor efficiently and effectively.”To change a laptop processor, first ensure compatibility and then follow a disassembly guide specific to your laptop model. Gather necessary tools like screwdrivers and thermal paste before starting the process.
Upgrading a laptop processor can provide a substantial performance boost, which can extend the life of your device and offer a more cost-effective solution than purchasing a new laptop. While desktop CPUs are commonly upgraded, many users may not realize that it’s also possible to upgrade the CPU in some laptops.
However, this task is not for the faint-hearted; it requires technical expertise, caution, and an understanding of the risks involved, such as voiding warranties or damaging sensitive components. Getting to grips with the internal anatomy of your laptop is crucial, as is the comprehension of CPU socket types. Knowing your current processor model and what it can be upgraded to will save a significant amount of time and ensure the best results for your laptop’s performance enhancement. Each step should be executed with precision to ensure a successful processor upgrade.
Essentials Before Changing Your Laptop Processor
Embarking on the exciting journey of upgrading your laptop’s processor demands careful consideration. With the right approach, your device can unlock new levels of performance. This guide puts you on the path to a successful CPU upgrade, ensuring a smooth transition to enhanced computing power.
Compatibility Concerns
Processor upgrades are not one-size-fits-all. Each laptop has a unique motherboard with specific socket types and chipset compatibilities. Before purchasing a new CPU, confirm that the processor is compatible with your laptop’s current hardware. A mismatch can lead to wasted money and effort. Use the manufacturer’s website to check compatibility lists for your specific model.
Key factors to consider include:
- Socket type
- Chipset compatibility
- Thermal design power (TDP)
- BIOS update requirements
Tools Needed
A successful CPU change hinges on having the right tools at your disposal. Ensure you gather all necessary equipment before beginning the process. The right tools prevent damage to delicate laptop components.
Essential tools for the task:
| Tool | Use |
|---|---|
| Antistatic Wrist Strap | Prevents static damage |
| Screwdriver Set | For opening the case |
| Thermal Paste | Essential for heat transfer |
| Isopropyl Alcohol | Cleans the old thermal paste |
| Microfiber Cloth | For a clean working surface |
Note: Check processor specifications for any unique tools it may require.

Understanding Processor Specifications
Processor specifications are crucial in determining how your laptop will perform different tasks. From playing games to editing videos, the CPU specs should meet your needs. Let’s dive into the details.
Core Count And Thread
Modern processors come with multiple cores and threads. More cores and threads mean your laptop can do more tasks at once.
- Dual-core: Basic tasks like browsing or document editing.
- Quad-core: Ideal for gaming and more complex software.
- Hexa-core and higher: Best for professional editing and demanding programs.
Clock Speed And Overclocking Potential
Clock speed, measured in GHz, tells you how fast the processor performs each task. A higher clock speed often means a faster laptop. Overclocking can push the speed beyond the designed limit.
| Base Clock Speed | Boost Clock Speed | Overclocking Support |
|---|---|---|
| 2.6 GHz | Up to 5.0 GHz | Yes |
| 1.8 GHz | Up to 4.0 GHz | No |
Note that overclocking can increase performance but may also lead to higher temperatures and decreased longevity.
Step-by-step Processor Replacement Process
Are you ready to turbocharge your laptop’s performance? Upgrading your processor can provide significant speed improvements. But remember, it’s a complex task. Carefully follow these step-by-step instructions to ensure a successful CPU swap. Get ready to breathe new life into your laptop!
Safety Precautions
Before diving into the process, safety is paramount. Consider these tips:
- Turn off your laptop and unplug all cables.
- Remove the battery to prevent electric shock.
- Use an antistatic wristband or ground yourself to avoid static damage to components.
- Keep small parts in separate trays to avoid losing them.
Disassembling Your Laptop
Disassembly varies by model. Generally, follow these steps:
- Flip the laptop over and remove the screws from the bottom.
- Gently pry open the case starting from one corner and work around the edges.
- Locate and disconnect cables carefully with proper tools.
- Take out components like the hard drive and RAM if they block access to the CPU.
Removing The Old Processor
It’s time to remove the old CPU. Take these actions:
- Locate the CPU locking mechanism and release it.
- Lift the CPU out gently from the socket.
- Clear any thermal paste residue using isopropyl alcohol and a lint-free cloth.
Installing The New Processor
Installing your new CPU is critical. Perform these steps carefully:
- Align the new CPU with the socket, noting the pin arrangement.
- Gently place the CPU into the socket. Do not force it.
- Lock the CPU in place with the locking mechanism.
- Apply a pea-sized amount of thermal paste to the CPU.
- Reattach the CPU cooler and secure it firmly.
Remember to double-check all connections before reassembling your laptop. Patience and precision are your allies in upgrading your laptop’s processor!
Post-installation Checklist
Congrats on your new processor upgrade! Before enjoying the speed boost, a post-installation checklist is crucial. It ensures peak performance and stability. This guide walks you through each step.
Initial Boot And Bios Update
Power on your laptop. The first boot after a processor change is critical. Here’s what to look for:
- Boot success: Does the system start without issues?
- System recognition: Check if the new processor appears correctly in system information.
- BIOS version: Ensure the BIOS is up-to-date to support your new CPU.
If the laptop doesn’t boot, recheck the installation. Update your BIOS by downloading the latest firmware from the manufacturer’s website.
Thermal Management And Stress Testing
Proper thermal management is crucial. Poor heat dissipation affects performance. Apply quality thermal paste to prevent overheating.
Stress testing is next. Use software tools to push your processor to its limits. Observe for signs of instability or overheating.
| Task | Action | Expected Outcome |
|---|---|---|
| Monitor Temperatures | Run tests | Stay within safe limits |
| Performance Check | Observe speed | Improved performance |
- Apply the paste evenly.
- Assemble the cooling system.
- Conduct stress tests.
Troubleshooting Common Issues After Processor Upgrade
Upgrading a laptop’s processor is a complex task. It often leads to unexpected hurdles even after careful installation. Understanding these common post-upgrade complications can help users enjoy the full benefits of their hardware improvements. Here, we explore the typical issues one might encounter and provide straightforward solutions to get you back on track.
Performance Irregularities
Experiencing performance drops or instability after a CPU upgrade can be alarming. Here’s what to check:
- Ensure the new processor is compatible with your laptop’s motherboard.
- Update your BIOS to the latest version to support the new CPU.
- Check for proper seating and installation of the processor.
- Examine RAM compatibility, as some CPUs require specific types or speeds.
Overheating Problems
CPU upgrades can sometimes lead to overheating if not managed correctly. Keep your laptop cool with these tips:
- Verify the thermal paste application. It should be fresh and applied correctly.
- Ensure the cooling system is reassembled properly, with no blockages.
- Assess your laptop’s fans for optimal operation and unobstructed airflow.
- Consider using a cooling pad to help dissipate heat effectively.
In both cases, checking the manufacturer’s instructions can be a lifeline. Diligence in these steps often resolves post-upgrade challenges and ensures a smooth computing experience.
Future-proofing Your Setup
Future-proofing your laptop setup means preparing for tomorrow’s demands. This smart approach saves time and money. A future-proof laptop handles new software, complex tasks, and upgrades with ease. Think about future-proofing from the start. This guide will show you how to keep your laptop up-to-date and efficient.
Selecting Upgradable Laptop Models
Choosing a laptop model with upgradable components is key. Not all laptops offer this flexibility. Look for models with accessible CPU sockets. This allows for processor swaps. Check for extra RAM slots, too. They provide a memory boost when needed. Ensure the laptop’s build supports these changes. High-quality materials adapt better to component upgrades.
- Research: Read reviews and tech specifications.
- Accessibility: Look for easy-to-open cases and accessible parts.
Maintenance Tips For Longevity
Regular maintenance keeps your laptop running smoothly. A well-maintained device handles upgrades better. Keep your laptop clean to avoid dust buildup. This can lead to overheating. Overheating damages internal components. Use compressed air for cleaning. Update software regularly. Software updates often include performance improvements. Back up your data usually. This protects you from unexpected failures.
| Maintenance Task | Frequency |
|---|---|
| Clean Dust and Debris | Every 3-6 months |
| Software Updates | As released |
| Data Back-up | Weekly |
How To Change Laptop Processor
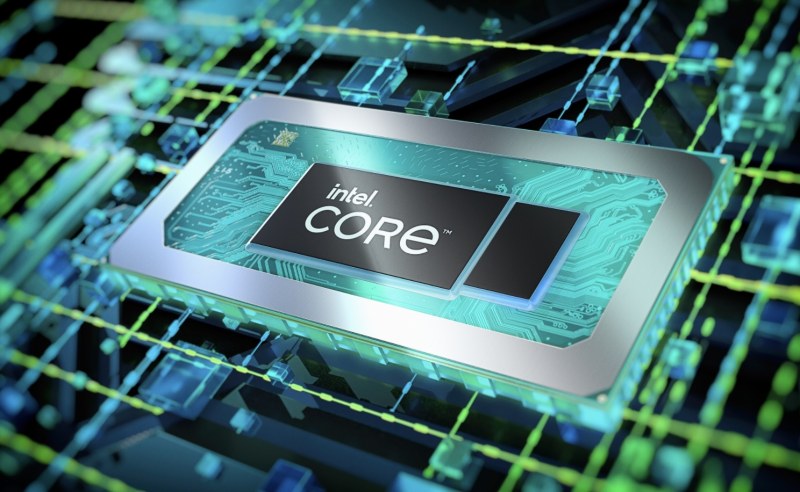
Changing a laptop processor is a complex and potentially risky endeavor that should only be attempted by those with advanced technical skills and experience with computer hardware.
It’s important to note that not all laptops allow for processor upgrades, as many laptops have processors soldered directly onto the motherboard, making them non-replaceable.
Additionally, opening up your laptop and attempting to replace the processor may void your warranty. However, if you’re confident in your abilities and your laptop supports processor upgrades, here are the general steps you would need to follow:
Research Compatibility: Start by researching whether your laptop supports processor upgrades. Check the manufacturer’s documentation, user manuals, or online forums where users may have shared their experiences with upgrading the processor in your specific laptop model. Look for information regarding compatible processors, socket types, chipset support, and BIOS compatibility.
Purchase the Compatible Processor: Once you’ve determined compatibility, purchase the new processor. Ensure that it is the correct socket type and is supported by your laptop’s chipset. It’s crucial to buy from a reputable source to ensure you receive a genuine and compatible processor.
Prepare Your Workspace: Find a clean, well-lit workspace with plenty of room to work. Lay down a soft surface to protect the laptop’s screen and external casing. Gather all the necessary tools, including screwdrivers, thermal paste, and possibly an antistatic wrist strap.
Back-Up Your Data: Before you begin, it’s wise to back up all your important data to prevent any potential loss in case something goes wrong during the upgrade process.
Disassemble Your Laptop: Follow the manufacturer’s instructions for disassembling your laptop. This typically involves removing the bottom panel, disconnecting the battery, and accessing the motherboard. Take your time and keep track of all screws and components you remove to ensure you can reassemble the laptop correctly.
Remove the Old Processor: Carefully unclip or unscrew the heatsink/fan assembly covering the processor. Lift the retention mechanism for the processor socket and gently lift out the old processor. Handle the processor with care to avoid damaging any of its delicate pins.
Install the New Processor: Place the new processor into the socket, ensuring proper alignment. Close the retention mechanism carefully to secure the processor in place. If necessary, apply a small amount of high-quality thermal paste to the surface of the processor to ensure optimal heat transfer between the processor and the heatsink.
Reassemble Your Laptop: Put everything back together in the reverse order of disassembly. Ensure all connections are secure and screws are tightened to the correct torque specifications. Take your time to avoid any mistakes that could damage your laptop.
Test Your Laptop: Once you’ve reassembled your laptop, power it on and check to see if it boots up correctly. Monitor the temperature of the new processor to ensure it is functioning within safe operating limits under load. Run diagnostic tests or benchmarking software to confirm that the new processor is performing as expected.
Finalize: If everything is working correctly, you’ve successfully upgraded your laptop’s processor! However, if you encounter any issues or your laptop fails to boot up properly, double-check your work and troubleshoot any problems before seeking professional assistance.
Remember that changing a laptop processor is a challenging task that carries inherent risks, including the potential for damaging your laptop’s hardware. Suppose you’re uncomfortable or unsure about any aspect of the process. In that case, it’s best to seek assistance from a professional technician or consider alternative options, such as purchasing a new laptop with the desired specifications.
Best Laptop Processor list
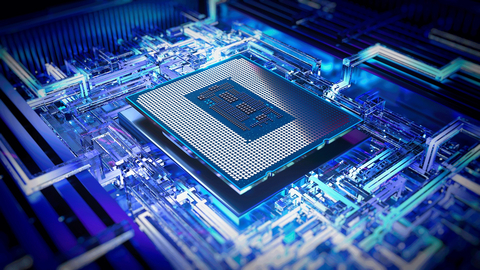
As of my last update in January 2022, the landscape of laptop processors had several standout contenders, each offering a blend of performance, power efficiency, and features. Here’s a breakdown of some of the best laptop processors available:
Apple M1 Pro and M1 Max:
Apple’s custom silicon has made significant waves in the industry. The M1 Pro and M1 Max are highly efficient ARM-based chips designed specifically for Apple’s MacBook Pro lineup. They offer industry-leading performance per watt, allowing for powerful performance while maintaining impressive battery life.
These chips feature high core counts, powerful integrated graphics, and advanced machine learning capabilities, making them suitable for a wide range of tasks, from content creation to software development.
AMD Ryzen 5000 Series:
AMD’s Ryzen 5000 series mobile processors, based on the Zen 3 architecture, have received widespread acclaim for their excellent performance and efficiency.
These processors offer strong multi-core performance, making them ideal for demanding tasks such as video editing, 3D rendering, and gaming.
The Ryzen 5000 series also includes integrated Radeon graphics, which provide solid gaming performance without the need for a dedicated GPU in many cases.
Intel Core i9-11980HK:
Intel’s Core i9-11980HK is one of the most powerful processors in their lineup for laptops. It features eight cores and sixteen threads, with a maximum turbo frequency of up to 5.0 GHz.
This processor is unlocked, allowing enthusiasts to overclock it for even higher performance if desired.
While Intel has faced strong competition from AMD and Apple in recent years, the Core i9-11980HK remains a top choice for users who prioritize single-threaded performance and compatibility with Intel’s ecosystem.
Qualcomm Snapdragon 8cx Gen 3:
While primarily known for its dominance in the mobile space, Qualcomm’s Snapdragon 8cx Gen 3 is making waves in the laptop market.
Built on ARM architecture, the Snapdragon 8cx Gen 3 offers impressive performance with exceptional power efficiency. This translates to all-day battery life and instant-on capabilities similar to what users expect from smartphones.
While not as powerful as some of the x86 alternatives, the Snapdragon 8cx Gen 3 is suitable for productivity-focused tasks and offers seamless integration with cellular connectivity.
AMD Ryzen 5000U Series:
In the ultraportable and mid-range laptop segment, AMD’s Ryzen 5000U series processors shine.
These chips offer a compelling balance of performance and efficiency, making them well-suited for thin and light laptops where battery life is a priority.
With up to eight cores and integrated Radeon graphics, the Ryzen 5000U series provides enough power for everyday computing tasks, casual gaming, and light content creation.
Choosing the best laptop processor ultimately depends on your specific needs and budget. Consider factors such as performance requirements, battery life, thermal management, and software compatibility when making your decision. Additionally, keep an eye on the latest releases and developments in the market as advancements are continuously being made.
Frequently Asked Questions For How To Change Laptop Processor-best Complete Guide
Is It Possible To Change The Processor Of A Laptop?
Yes, it’s possible to change a laptop’s processor, but compatibility and technical skill requirements often make it impractical compared to desktops. Upgrading can void warranties and carries the risk of damage.
Which Processor Is Best, U H Or P?
The best processor depends on your needs: U series for power efficiency, H series for high performance, and P series balances performance with efficiency.
Can I Upgrade My Laptop Processor From I5 To I7?
Upgrading your laptop’s processor from an i5 to an i7 may be possible, but it depends on your laptop’s motherboard socket, chipset compatibility, and physical space. Consult your laptop’s manufacturer or a professional technician to determine if an upgrade is feasible.
Can I Upgrade My Laptop Processor From I7 To I9?
Upgrading your laptop’s processor from i7 to i9 may be possible, but it depends on your laptop’s motherboard and socket compatibility. Check your manufacturer’s specifications or consult a professional before attempting an upgrade.
Conclusion
Wrapping up our guide on changing your laptop’s processor, we’ve journeyed through a detailed, step-by-step journey. Remember, successful upgrades hinge on compatibility and skill. Take time, do your research, and ensure you have the right tools. Your laptop’s new lease on life awaits! Embrace the power of DIY and unleash your device’s full potential.

I am Hossain Biswas. I am a technology writer and blogger based in the USA. I have over 5 years of experience writing about the latest trends and innovations in the tech industry, with a focus on topics like artificial intelligence, cybersecurity, and social media.
